How to Grow Your Sausage Idle Efficiency Tier Lists
Rank what to buy, equip, and prestige for first—not what looks flashiest on the counter.
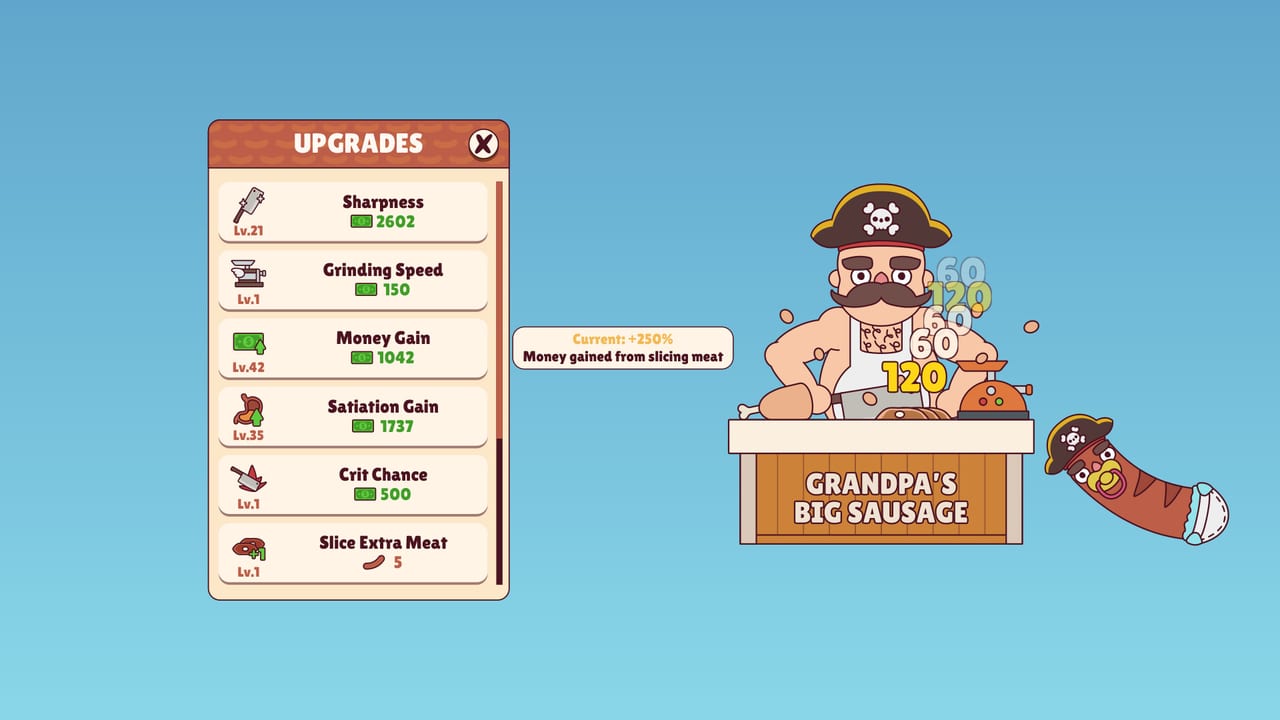
How to Grow Your Sausage is an idle desktop companion: keystrokes, clicks, and everyday PC use feed a sentient sausage while you work. Money funds upgrades, shop items (meats, grinders, cleavers), unlockables, prestige (and later Time Travel), plus costumes. This hub explains how we rank those systems for idle efficiency—growth per unit of attention—so you spend soft currency where it compounds instead of chasing every new unlock the moment it appears.
New players should skim Getting Started first, then return here when the shop and prestige prompts start competing for your next purchase. Veterans can jump straight into the child lists and cross-check the prestige planner before a reset.
Ranking philosophy (S / A / B / C)
We use four tiers. There is no F tier on purpose: almost every unlock has a niche, and calling something “trash” usually just means “buy later.”
| Tier | Meaning for idle play |
|---|---|
| S | Buy or equip early; multiplies the whole loop (income, slice rate, or permanent prestige value). Skipping these slows every later system. |
| A | Strong once basics are online; often situational (active typing sessions vs AFK desk time). |
| B | Fine fillers, cosmetics-adjacent power, or mid-curve bridges. Useful, not urgent. |
| C | Comfort, collection, or late luxury. Grab when surplus is huge or you simply like the vibe. |
Criteria we weight most heavily:
- Passive growth while the window sits on your desktop — the game’s real identity.
- Synergy with prestige currency (Golden Sausages and exclusive shop lines) so resets feel intentional, not punishing.
- Equip flexibility — meats, grinders, and cleavers can be swapped; a high peak that forces constant babysitting ranks below a slightly weaker always-on setup.
- Unlock cadence — growth-triggered unlockables should not strand you behind a wall because you overspent on vanity upgrades.
We do not invent named cosmetics or exact multiplier tables when they are not publicly documented. Where the store only describes categories (hats, counters, skins; meats/grinders/cleavers), rankings stay categorical and principle-based. Rebalance patches after the 1.0 launch can shuffle order—revisit this hub after reading Updates.
What to open next
- Best Upgrades Tier List — early, mid, and late purchase priority so your butcher’s process stays ahead of sausage size walls.
- Best Items Tier List — meats vs grinders vs cleavers, plus when to swap loadouts.
- Costumes Tier List — cosmetic fun ranking and an honest take on mechanical bonuses.
Pair rankings with practical tools: the Tools Hub hosts shopping-list style checklists, and Steam deals covers the paid storefront side (this is not a Roblox codes game—see the Codes Hub for that honesty page).
How to use these lists without tunnel vision
Idle games punish over-optimization theater. If you are actively typing for hours, A-tier “active session” picks can outpace S-tier AFK multipliers for that afternoon. If you leave the companion running while you browse, prioritize passive slice efficiency and income multipliers instead. Prestige resets part of progress for permanent multipliers and exclusive buys—treat S-tier prestige timing as more important than maxing every B-tier shop row first.
Cross-link habit: after you finish a tier page, open the matching planner or launch overview so numbers in your head match the current build. The launch notes summarize what 1.0 added over the Next Fest demo (Time Travel, deeper unlockables, more items and cosmetics). Official news lives on Steam and Discord—bookmark Official Links for store, socials, and community hubs.
Meta drift and honesty
Little Horror Studios shipped a full rebalance with 1.0. Demo muscle memory (unlockables capped around early centimetre milestones) does not map 1:1 to post-launch unlockables stretching much further, with Time Travel as a second prestige layer. When community consensus shifts, we update child pages rather than freezing a day-one spreadsheet. If two options feel equal, prefer the one that reduces clicks per minute of growth—desktop companions should respect your real work.
For platform context, pricing, and refunds high-level notes, use Steam deals. For onboarding order of operations, stay with Guides and Getting Started.
Quick decision tree
- Still learning the UI? → Getting Started.
- Choosing the next upgrade row? → Best Upgrades.
- Swapping meat / grinder / cleaver? → Best Items.
- Prestige button glowing and you feel nervous? → Prestige Planner.
- Only here for drip and hats? → Costumes Tier List.
That is the entire map. Rank for efficiency, buy for compounding, prestige on purpose, and dress the sausage when the maths already work.
Frequently Asked Questions
Quick answers for sausage growers.
What does S-tier mean on this wiki?
S-tier picks multiply the whole idle loop early—income, slicing efficiency, or prestige value. Skip them and every later system feels slower.
Are costume tiers about power or fashion?
Both, carefully. We call out mechanical bonuses when they exist and otherwise rank hats, counters, and skins for fun and readability. See the costumes child page.
Will these rankings change after patches?
Yes. 1.0 already rebalanced the demo curve. Check Updates after major patches, then revisit Best Upgrades and Best Items.
Should I prestige before finishing every upgrade?
Often yes once permanent multipliers beat another soft-currency dump. Use the Prestige Planner checklist instead of prestige-panic.