How to Grow Your Sausage Costumes Tier List (Hats, Counters, Skins)
Dress after +30 cosmetics and the voucher obtain rework—without pretending every hat is power.
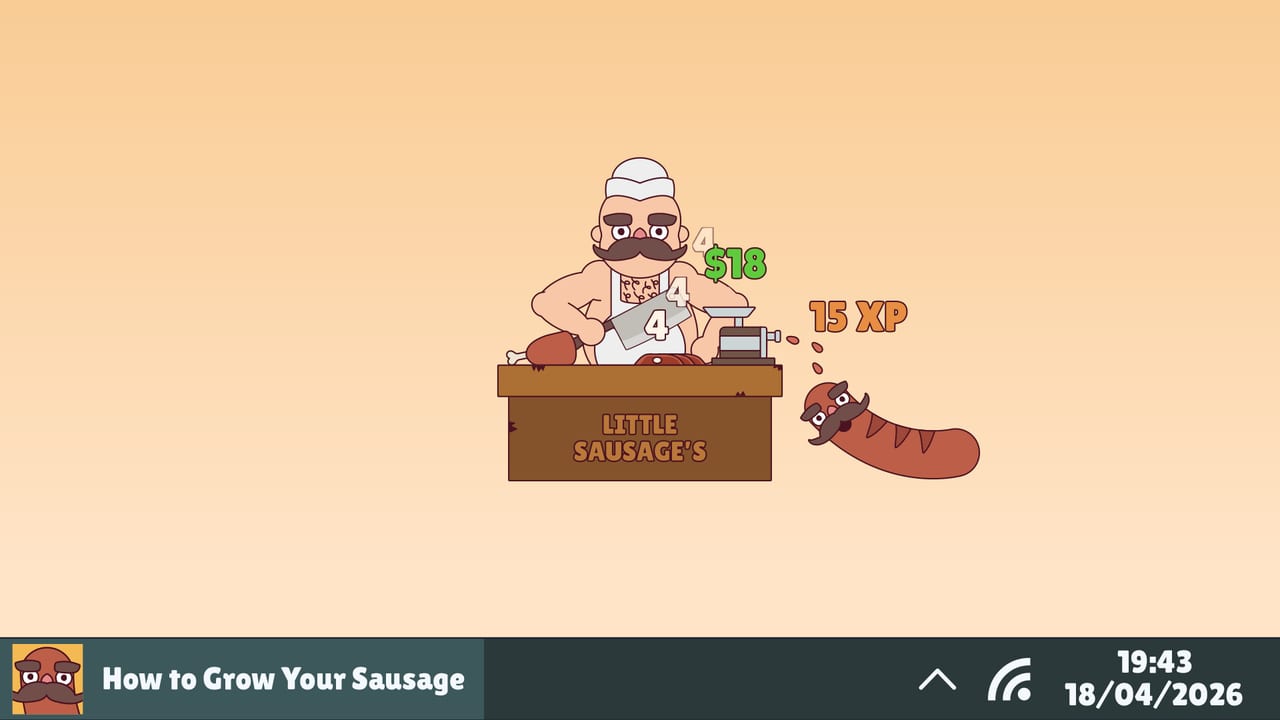
Costumes are the drip layer of How to Grow Your Sausage. Official feature text is short and clear: equip different types of hats, counters, and skins. Launch expanded the wardrobe heavily—+30 cosmetics versus the Next Fest demo—and shipped a cosmetic voucher obtain rework (+30 cosmetics + voucher rework for short). This page ranks costume categories for fun and readability, then separates fashion from power so you do not derail upgrade or item efficiency chasing a look.
We intentionally do not invent specific named cosmetics when full public lists are incomplete. If a patch notes a mechanical bonus on a costume line, treat that line as an exception and still buy power systems first. For onboarding, see Getting Started; for ranking philosophy, see the Tier List Hub.
Cosmetic vs mechanical — the honest split
Desktop companions live or die on personality. Hats on a sentient sausage, alternate counters, and butcher skins are part of why you keep the window visible. That does not make every cosmetic an idle multiplier.
Assume cosmetics are cosmetic until the game UI, tooltip, or patch notes say otherwise. When a costume grants a real bonus:
- Rank that bonus with the same S/A/B/C efficiency rules as upgrades/items.
- Equip it for maths when the bonus is strong; otherwise keep your favourite look and accept a tiny loss.
- Never spend scarce prestige currency or voucher income on uncertain fashion before your meat/grinder/cleaver trio and core upgrades are healthy.
The voucher obtain rework at 1.0 means demo-era farming habits may be wrong—check Launch Notes and live Updates if your old voucher route dried up. As of mid-September 2026 there is still no post-launch hotfix changing that rework.
Fun ranking by category
Hats (sausage / head drip)
| Tier | Hat vibe | Why players equip it |
|---|---|---|
| S | Silhouette-changing hats that read clearly at small desktop sizes | The companion is often tiny in a corner—readable shapes win. |
| A | Seasonal or joke hats with strong personality | Perfect for Photo Mode and sharing size flexes. |
| B | Subtle variants | Nice collection filler. |
| C | Near-duplicates that barely read at icon scale | Complete the set later. |
Hat tip: if you screenshot for friends or Steam, prioritise contrast against your counter skin.
Counters (stage / workplace)
| Tier | Counter vibe | Why |
|---|---|---|
| S | Clean, high-contrast counters that make growth UI readable | You glance at this for hours. |
| A | Themed counters that match a hat/skin bundle | Cohesive setups feel intentional. |
| B | Busy counters that look great in Photo Mode but clutter glance value | Use when posing, not while working. |
| C | Low-contrast stages that hide the sausage | Fashion failure mode. |
Counters are workplace UX. An S-tier counter can improve your efficiency even with zero game multiplier by making progress legible.
Skins (butcher / sausage body presentation)
| Tier | Skin vibe | Why |
|---|---|---|
| S | Skins that keep motion and feed feedback obvious | You need to see that keystrokes matter. |
| A | Bold palette swaps for mood | Great for long campaigns. |
| B | Lore-flavoured skins tied to Growth Journal energy | Story enjoyers elevate these. |
| C | Skins that muddy attack/feed telegraphs | Unequip for serious grinding sessions. |
Bundle thinking (without named spoilers)
Players naturally collect “sets”: hat + counter + skin that share a theme. For fun tiers, complete sets rank above mixed randoms even if each piece is only A-tier alone—cohesion photographs better and makes the companion feel authored. For efficiency tiers, break the set the moment a mechanical bonus costume appears in one slot.
1.0’s larger cosmetic pool makes set-completion a long-term goal alongside unlockables stretching much deeper than the demo’s early centimetre cap. Pace yourself; the sausage will still grow while you wear the starter look.
Where costumes sit in the spend order
- Core upgrades for process efficiency.
- Coherent items trio.
- Prestige when permanent gains win—use the Prestige Planner.
- Costumes and voucher sinks for joy, Photo Mode, and achievement flavour.
- Revisit fashion after Time Travel / late systems when surplus is silly.
If you only care about looks, skip straight to vouchers and shop tabs—just do not ask why your growth lags players who ranked S-tier process first.
Photo Mode, Free Gifts, and social flex
Launch added Photo Mode, a Free Gifts screen, and richer customisation so you can show friends the sausage’s size with dignity (and memes). Costumes shine here. Snap with an S-tier readable hat/counter combo, then share via your usual socials. Official community spaces are listed on Official Links.
Free Gifts are not Roblox-style codes—see the Codes Hub for the honest explanation and Steam deals for buying the game cheaply.
Category checklist
- Pick a high-contrast counter for daily work.
- Pick a hat that reads at small scale.
- Pick a skin that keeps feed feedback visible.
- Save chaotic “busy” sets for Photo Mode.
- Confirm voucher sources post-1.0 rework.
- Only break efficiency rules when a costume lists a real bonus.
Related reading
Costumes are how the game stays funny after the hundredth keystroke. Rank them for joy, verify any power claims, and keep the idle engine fed with upgrades and items first.
Frequently Asked Questions
Quick answers for sausage growers.
Do costumes give stat bonuses?
Treat them as cosmetic by default. If a tooltip or patch notes grant a bonus, equip for maths when it is strong—otherwise prioritise upgrades and items.
Why rank hats if they are cosmetic?
Readability and Photo Mode matter on a desktop companion. S-tier hats are the ones you can still see when the window is small.
Did 1.0 change cosmetics?
Yes—about +30 new cosmetics and a voucher obtain rework versus the demo. Recheck how you earn vouchers after launch; demo routes may be obsolete.
Should I buy costumes with prestige currency?
Only after core exclusives that boost growth. Fashion is for surplus unless a costume explicitly sells power.